
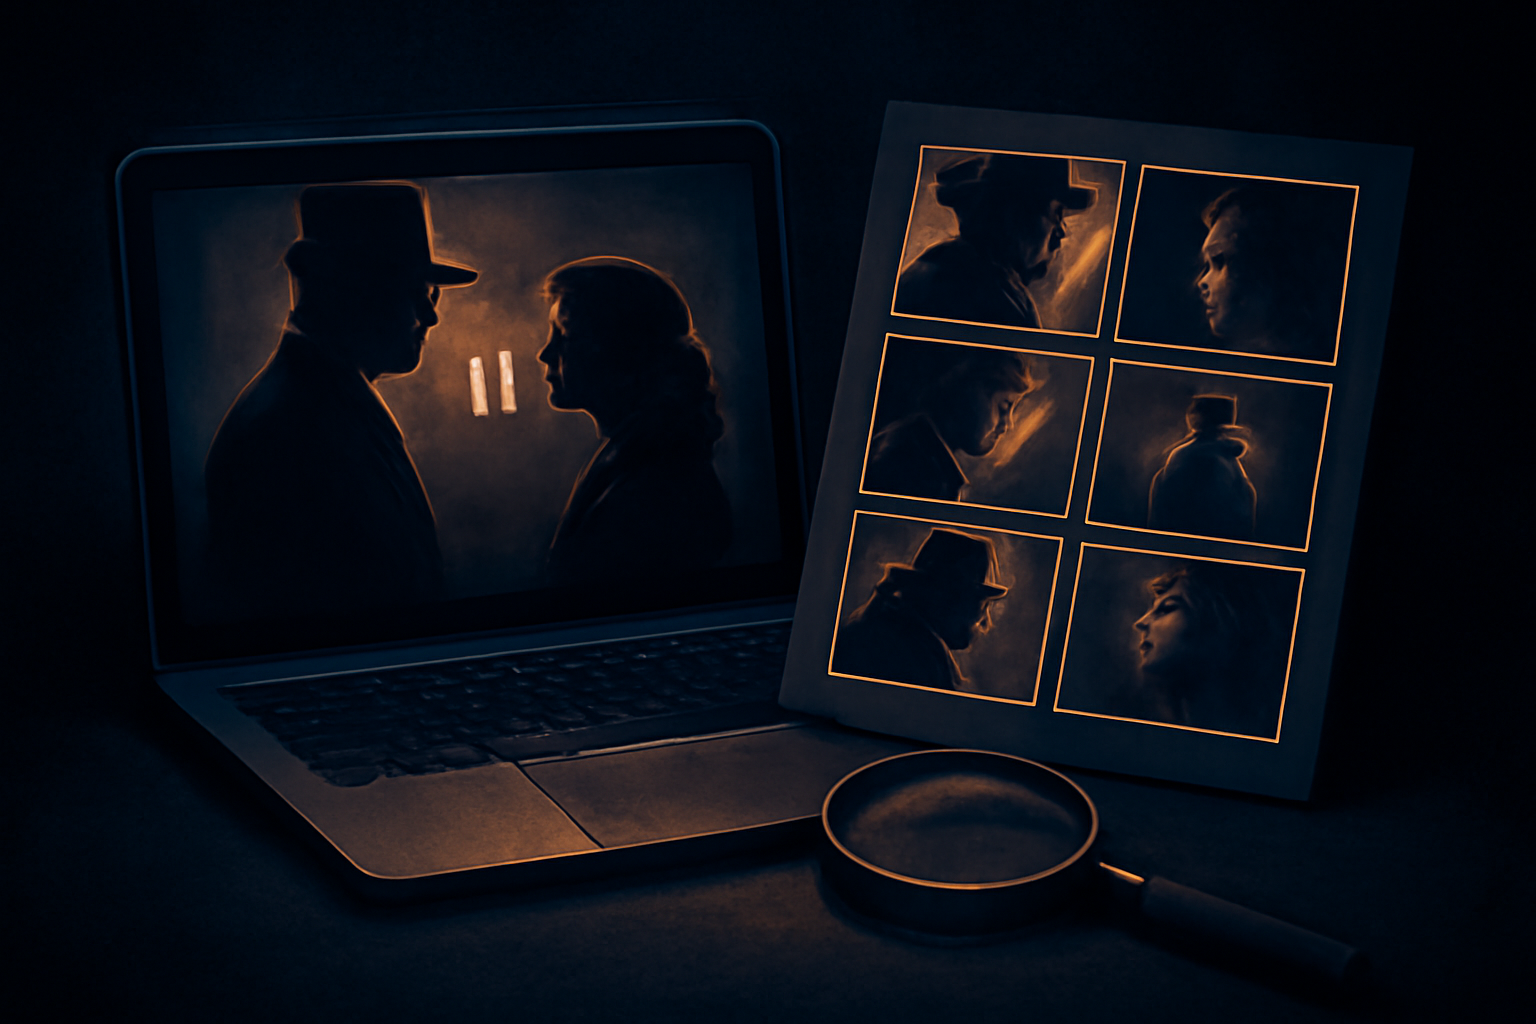
What “using frames to reconstruct a prompt” means
When people search for how to use frames to reconstruct a prompt, they are usually trying to work backward from an AI-generated video. Instead of starting with written instructions and producing an image or clip, you start with the finished result and study selected moments from it. Those moments, called frames, provide visual evidence about the subject, setting, movement, lighting, camera, and style.
A frame is simply a still image taken from a video at a particular time. Looking at one frame may reveal a woman in a red coat, but several frames can show that she is walking through a rainy city at night while the camera tracks beside her. Comparing frames helps separate details that remain consistent from details caused by motion, editing, or a single unusual image.
The goal is not to recover a hidden string of text stored inside the pixels. A model cannot reliably know whether a creator typed “cinematic cyberpunk street” or “neon futuristic alley” when both could produce a similar result. Frame analysis therefore reconstructs a plausible description of the visible output, rather than extracting the exact original prompt.
What information frames can reveal
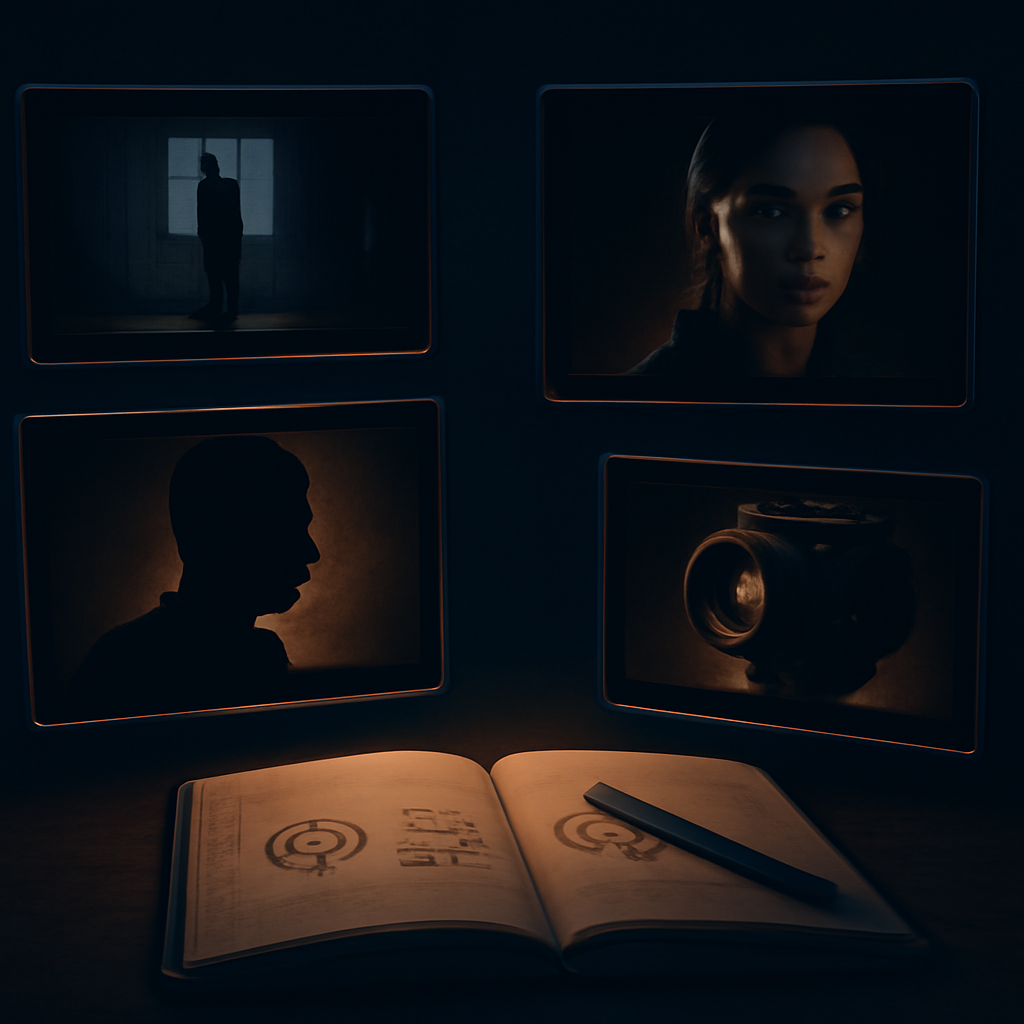
Useful frames should cover the main visual changes in the clip. For a short product animation, you might select an opening frame showing the object, a middle frame showing its movement, and a final frame showing the environment or lighting. For a character video, choose frames that make the face, clothing, pose, background, and camera angle easy to inspect.
Across those samples, an image or vision model can often identify concrete elements: a subject’s approximate age and clothing, the location, weather, color palette, composition, depth of field, lens-like perspective, and broad movement. It may also infer a style such as documentary, fashion editorial, 3D animation, watercolor, or realistic cinematic footage. These observations can be turned into prompt components.
Frames are especially helpful when the video contains information that is easy to miss during playback. A character’s costume detail may appear for only half a second. A wide establishing shot may explain the setting, while a close-up reveals the intended emotion. Combining both views produces a more useful reconstruction than asking a model to describe one randomly chosen screenshot.
A practical frame-by-frame workflow
Start by watching the entire video once without taking notes. Look for scene changes, repeated subjects, important actions, and moments where the camera changes position. Then select a small, representative set of frames rather than exporting every frame. A handful of clear images is usually easier to interpret than hundreds of near-duplicates.
Next, organize what you see into categories. Record the main subject and its attributes, the action, the environment, the camera behavior, the lighting, the color treatment, and the visual medium. For example, your notes might describe “a glass perfume bottle rotating on a black reflective surface, soft blue rim light, slow commercial-style camera movement, shallow depth of field.”
Finally, turn those observations into a structured prompt. Put the subject and action first, then add the setting, composition, lighting, style, and quality cues that are actually supported by the frames. If a detail is uncertain, use cautious wording such as “appears to be” or leave it out. A shorter prompt based on visible evidence is more useful than a long one filled with invented specifics.
Why the reconstructed prompt is not the original
Several different prompts can lead to visually similar videos, especially when the generation system supplies its own defaults. The creator may also have used a reference image, a motion setting, a negative prompt, an image-to-video workflow, multiple generations, or manual editing after generation. None of those hidden steps can be proven from frames alone.
Words such as “35mm lens,” “volumetric lighting,” or “high detail” may describe the appearance well, but that does not mean they were present in the creator’s input. They are explanatory labels chosen after the fact. A reconstruction should be treated as a useful starting point for experimentation, not as evidence of what the creator actually typed.
This distinction matters when comparing tools. A responsible video-to-prompt tool should clearly separate a creator-disclosed prompt from an AI-generated reconstruction. If the prompt appears in the video description or comments, that source can be cited as disclosed information. If no such text is available, the output should be labeled as an interpretation or best-effort guess.
Common mistakes when analyzing video frames
One common mistake is choosing only the most attractive frame. A dramatic close-up may hide the setting, while a wide shot may hide the subject’s important details. Another is treating editing effects as generation instructions. A color grade, transition, motion blur, or overlay may have been added after the AI produced the clip and should not automatically become part of the reconstructed prompt.
It is also easy to confuse a visible result with a reliable cause. If a face looks slightly distorted, that does not prove the creator used a particular model or negative prompt. If the scene resembles a famous film, it may be safer to describe the observable traits—dark backlighting, handheld movement, muted colors—rather than claim a specific cinematic reference.
For better results, use clear frames at meaningful points, remove duplicates, and check whether a detail appears consistently. Separate facts from inferences in your notes. “Red jacket visible in three frames” is an observation; “generated with a fashion photography preset” is a hypothesis. Keeping those categories apart makes the final prompt more honest and easier to revise.
When to use a frame reconstruction tool
A frame-based tool is useful when you want a practical starting point for recreating a look, studying how a scene is composed, or generating a prompt for a related image or video. It can save time by sampling the clip in a browser and summarizing visual patterns that would take longer to document manually. Uploading a short video can also help when a public link is unavailable.
The best workflow is to compare the result with the original clip and edit it yourself. Remove details that are wrong, add constraints the model missed, and adapt the wording to the image or video generator you plan to use. If you need the exact original prompt, first inspect the creator’s description and comments, because disclosed text is more reliable than any visual reconstruction.
When you are ready to analyze a clip, try the video prompt tool. It can look for a creator-disclosed prompt in available metadata and comments, or provide a clearly labeled reconstruction when no prompt is disclosed. That makes it useful for exploration while keeping realistic expectations about what frames can—and cannot—prove.




Leave a Reply