What “capture mood and lighting” really means
When people search for how to capture mood and lighting from a video frame, they usually want more than a list of visible objects. They want to explain why an image feels tense, dreamy, luxurious, lonely, warm, or energetic, then turn that observation into useful creative direction. Mood describes the emotional impression of the frame. Lighting describes the physical and visual choices that help create that impression.
A useful description might say that a subject stands in a narrow beam of cool window light while the background falls into deep shadow. That communicates direction, color temperature, contrast, and atmosphere. It is more helpful than simply writing “a person in a dark room,” because another creator can use those details to design a similar visual result.
The goal is not to recover hidden production metadata or prove which words an AI model received. A frame can show the result of lighting, but it cannot reveal the exact prompt, camera settings, editing decisions, or image-generation parameters that produced it. The practical goal is a strong visual description that can guide a new prompt or a reshoot.
Break the frame into mood and lighting clues
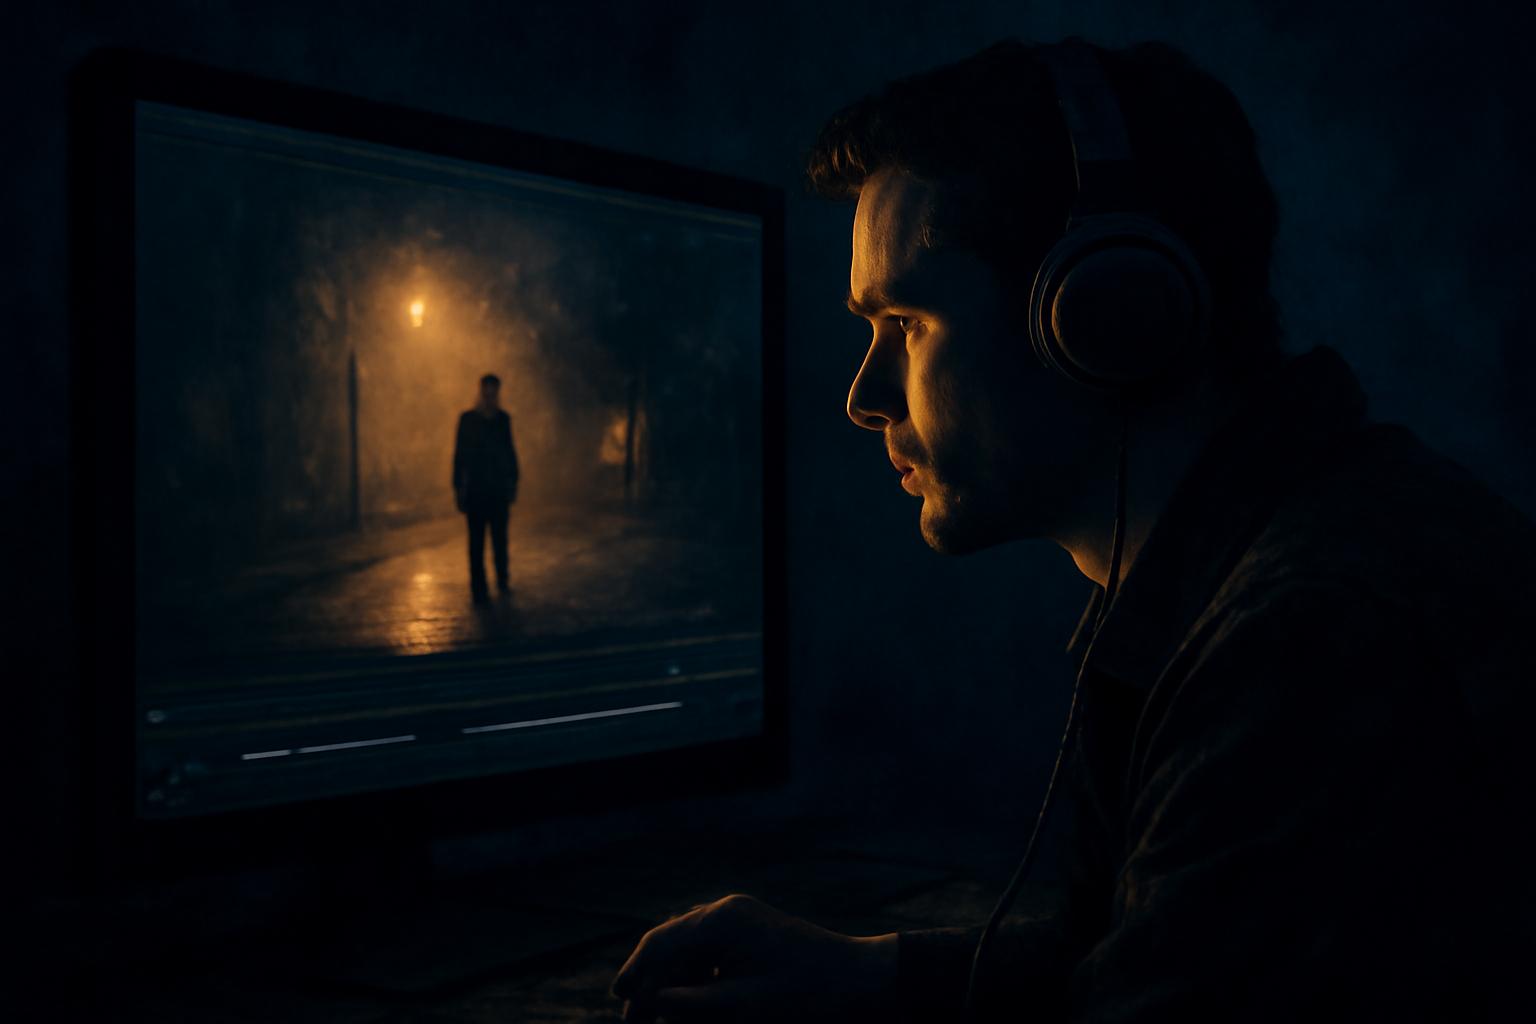
Start with the emotional response before naming technical details. Ask what the frame makes you feel and why. A foggy blue street with one distant light may suggest isolation or suspense. Soft peach highlights, low contrast, and a relaxed pose may suggest nostalgia or comfort. These interpretations are not universal, so describe the visual evidence alongside the mood rather than presenting the emotion as an objective fact.
Next, inspect the light source and its direction. Is the subject lit from the front, side, above, behind, or below? Look for shadows under the chin, reflections in the eyes, highlights on glossy surfaces, and the edge of a silhouette. Also note whether the light appears natural, such as sunlight through curtains, or artificial, such as a neon sign, practical lamp, studio softbox, or hard spotlight.
Finally, record color temperature and contrast. Warm amber light can make a scene feel intimate, while cyan or green light can feel clinical or unsettling. High contrast with crushed shadows creates drama; broad, even illumination feels softer and more commercial. Mention haze, bloom, reflections, rain, dust, or smoke when they change how the light spreads through the scene.
A practical frame-analysis workflow
Choose a representative frame rather than automatically using the first frame. The opening image may be a title card, transition, or unusually dark moment. For a short clip, compare the beginning, middle, and end. If the lighting changes, select a frame that best represents the look you want to recreate and keep a second frame for checking whether the description remains consistent.
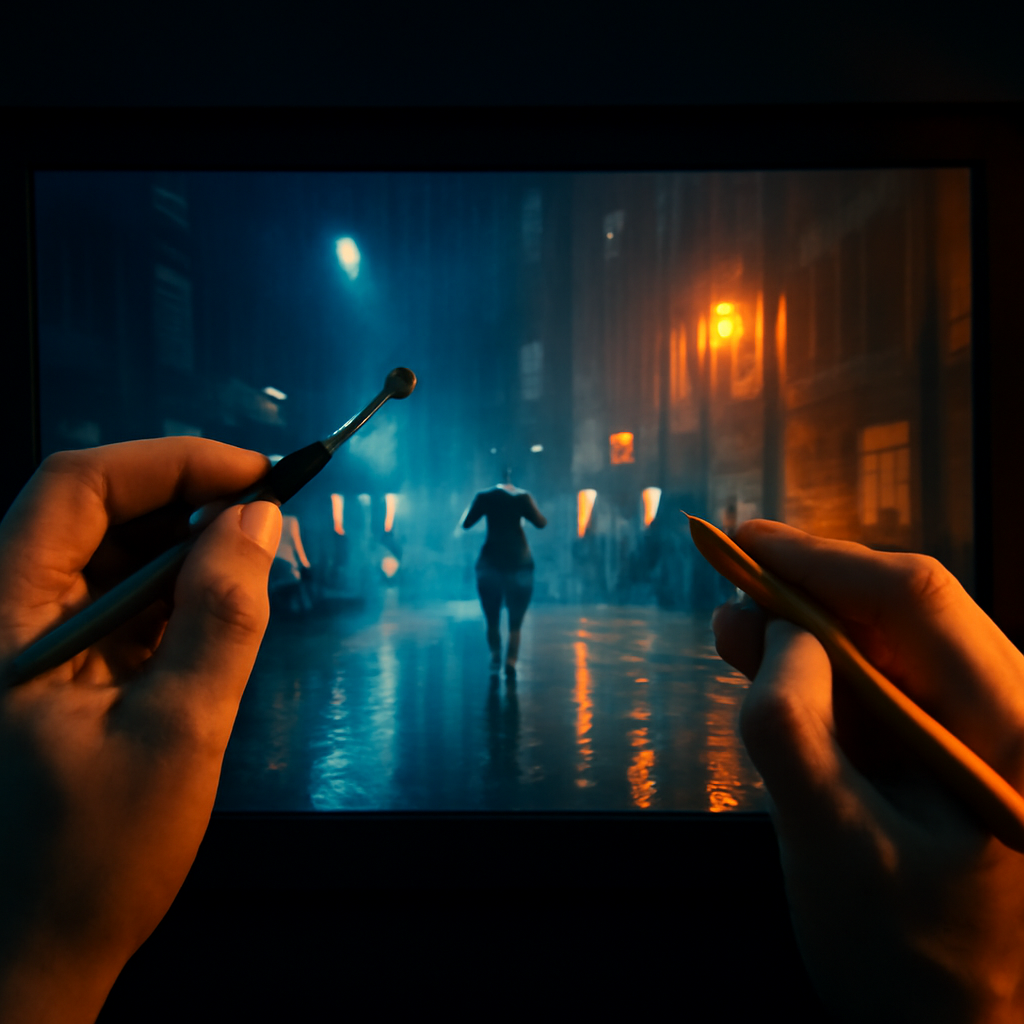
Write your notes in four passes: subject and setting, light source and direction, color and contrast, then emotional effect. For example: “A lone cyclist crosses a wet city street at night; a red storefront light hits the right side of the jacket, while cool blue ambient light fills the shadows; reflections stretch across the pavement; the result feels cinematic, tense, and slightly futuristic.” This structure keeps mood grounded in observable details.
If you are turning the notes into a prompt, separate stable visual traits from accidental frame details. “Low-key lighting with blue shadows and a warm rim light” is a reusable instruction. “One bright reflection at the lower-left edge” may be specific to that exact frame. Keeping both can be useful, but knowing the difference helps you avoid expecting a generated video to reproduce every pixel.
What AI video-frame tools can and cannot infer
An AI vision tool can examine selected frames and produce a best-effort description of visible subjects, composition, atmosphere, and lighting. It may identify likely cues such as backlighting, overcast daylight, shallow depth of field, practical neon, or a warm-cool color contrast. This can save time when you need a starting point for a prompt or a shot breakdown.
However, the tool is interpreting evidence rather than reading the original instructions. The same appearance could result from a detailed prompt, a simple prompt followed by editing, a physical camera setup, or color grading. A model may also be uncertain about whether a glow comes from a light source, lens flare, diffusion, or post-production. Good tools should label this output as reconstructed, inferred, or best effort.
That distinction matters especially when a video is presented as AI-generated. Pixels do not contain a recoverable copy of the original prompt. A responsible workflow checks for a creator-disclosed prompt in the video description or comments first. If no disclosure exists, frame analysis can suggest plausible wording, but it should never claim to have extracted the exact original.
Common mistakes when describing visual atmosphere
One common mistake is relying on generic adjectives such as “beautiful,” “cinematic,” or “moody” without explaining what creates the effect. These words can point in the right direction, but they do not tell a generator whether the scene needs hard side light, soft overcast illumination, a narrow beam, muted colors, or deep shadow. Pair each broad mood word with two or three concrete visual properties.
Another mistake is treating color as lighting. A blue color grade does not necessarily mean the scene was lit by blue light. Likewise, a dark image may use bright backlighting with intentionally underexposed shadows. Describe what appears to be happening, but use cautious language when the frame cannot distinguish capture conditions from post-processing.
It is also easy to overfit one frame. A passing reflection or temporary shadow may not represent the whole video. Compare several moments, note what stays consistent, and avoid adding details that are not visible. If people, text, or fast motion are involved, expect some ambiguity and review the generated description before using it as a production brief.
Turn a frame description into a usable prompt
Once you have analyzed the frame, turn the observations into a compact prompt with an intentional order. Start with the subject and setting, then add composition and camera perspective, followed by lighting, color, atmosphere, and motion. For example: “A solitary cyclist moving through a rain-soaked downtown street at night, medium-wide side view, warm red storefront light on the subject’s right side, cool blue ambient shadows, glossy pavement reflections, light mist, restrained cinematic contrast.”
Do not assume that adding every visible detail will improve the result. A prompt overloaded with uncertain guesses can create conflicting instructions. Test a short version first, then add details such as lens feel, haze, rim light, or shadow density one at a time. If the result feels too cheerful, adjust contrast, saturation, or color temperature instead of adding more dramatic adjectives.
For more complicated videos, frame analysis works best as one part of a broader process. You can combine it with shot-by-shot notes, camera-movement descriptions, and information supplied by the creator. If you want to understand the limits of reconstructing a prompt from frames, read this guide on using frames to reconstruct a prompt.
A realistic way to try the process
A sensible workflow is simple: provide a YouTube link or upload a short video file, inspect whether the creator has disclosed a prompt, and then analyze representative frames if no disclosure is available. For an uploaded file, browser-based frame extraction can keep the process convenient without requiring the video to be stored by the tool. Always check the tool’s privacy explanation before submitting anything sensitive.
Review the result as creative analysis, not forensic proof. Keep the parts that are clearly visible, revise uncertain claims, and compare the suggested mood and lighting against the original frame. This is particularly useful for building references, planning reshoots, studying advertisements, or creating a new video with a similar atmosphere while accepting that the output will not be an exact duplicate.
If you want a quick starting point for analyzing a clip’s visual atmosphere and reconstructing a clearly labeled prompt when no creator disclosure is available, try https://videopromptgen.com/. It can help you move from “this frame feels moody” to a more specific description of the light, color, contrast, and atmosphere you can actually use.


Leave a Reply